Imagine this: a world where every device in your home or office communicates seamlessly, sharing data effortlessly to make your life easier. That’s the magic of IoT—or the Internet of Things. And guess what? You can harness this power using the Raspberry Pi platform. Whether you’re a tech enthusiast, a hobbyist, or a professional developer, deploying IoT with Raspberry Pi opens up endless possibilities for automation, data collection, and innovation.
Let’s dive right in. The deployment of IoT with Raspberry Pi isn’t just about connecting gadgets; it’s about creating smart ecosystems that work for you. From monitoring environmental conditions to automating home appliances, the Raspberry Pi acts as the brain of your IoT setup. But how do you get started? That’s exactly what we’re here to explore. This guide will walk you through everything you need to know, step by step.
Now, don’t freak out if you’re new to this. I get it—it can sound intimidating at first. But trust me, by the end of this article, you’ll be ready to roll up your sleeves and start building your own IoT projects. Let’s make it happen, shall we?
Read also:Knicks Muse The Ultimate Guide To New York Knicksrsquo Inspiring Journey And Fanbase
Understanding IoT and Its Role in Modern Technology
Before we dive into the nitty-gritty of deploying IoT with Raspberry Pi, let’s take a moment to understand what IoT really is. Simply put, IoT refers to the network of physical devices embedded with sensors, software, and connectivity that enables them to exchange data. Think smart thermostats, wearable fitness trackers, or even self-driving cars. These devices don’t just operate independently; they communicate with each other to create a smarter, more connected world.
IoT isn’t just a buzzword—it’s revolutionizing industries. From healthcare to agriculture, the applications are limitless. For instance, farmers can use IoT sensors to monitor soil moisture levels and optimize irrigation. Hospitals can track patient vitals in real-time using wearable devices. And businesses can enhance operational efficiency by automating processes. The possibilities are endless.
But here’s the kicker: to bring these ideas to life, you need a reliable platform to build on. Enter Raspberry Pi, the tiny yet powerful computer that’s making waves in the IoT world.
Why Raspberry Pi is Perfect for IoT Deployment
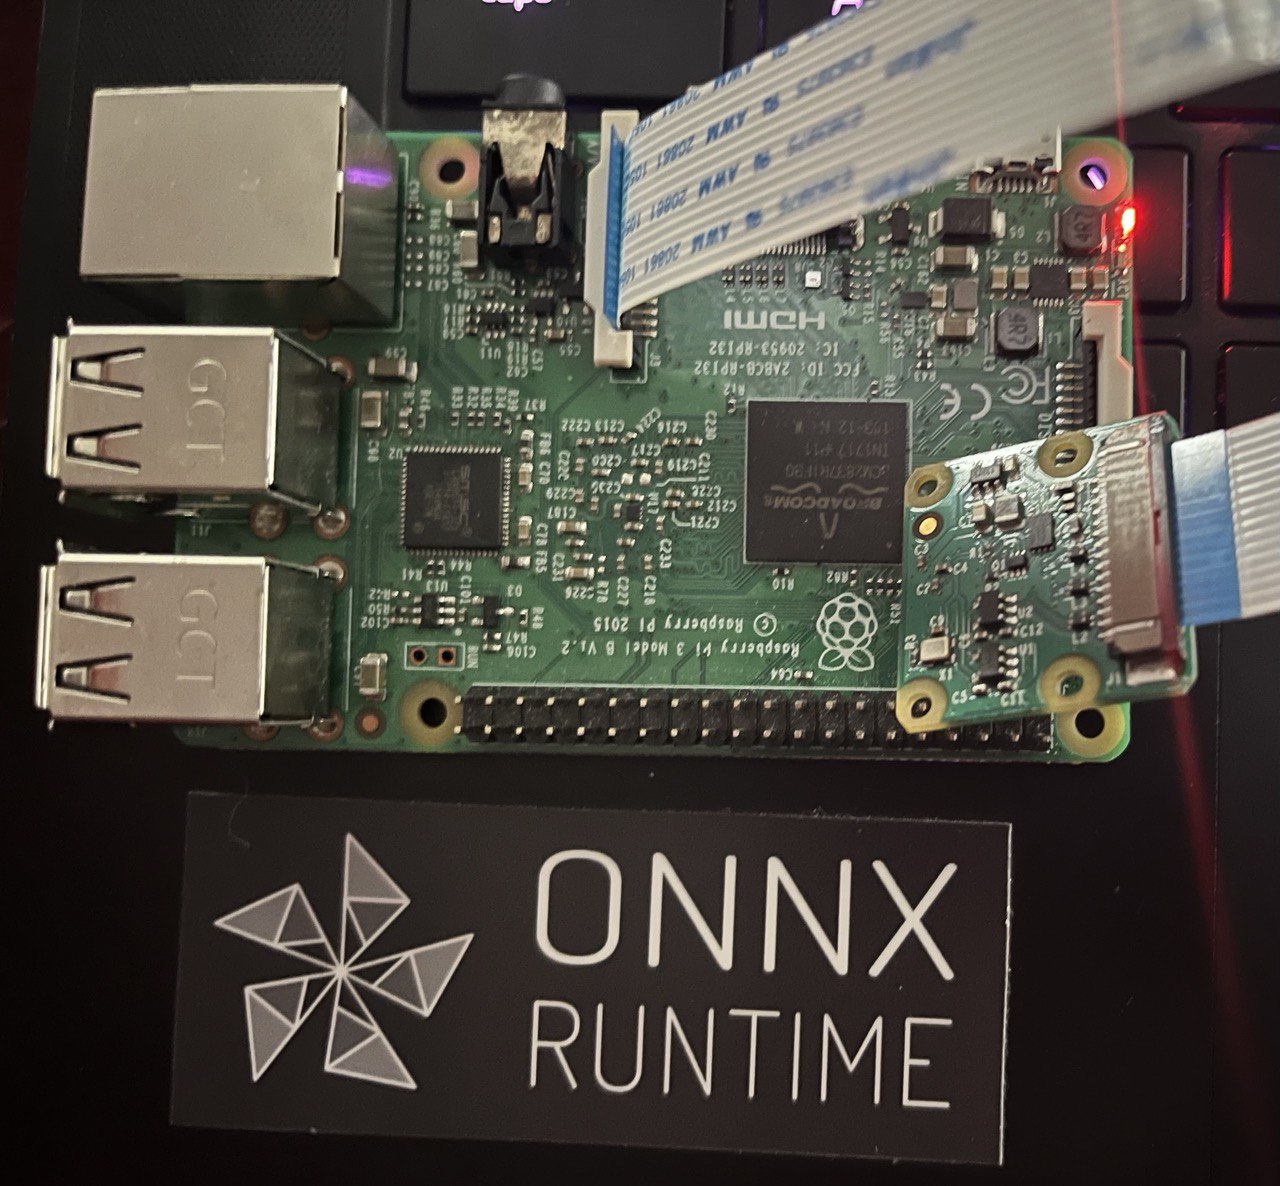
Let’s talk about why Raspberry Pi is the go-to choice for IoT enthusiasts. First off, it’s affordable. Seriously, you can get a Raspberry Pi for under $50, which is a steal considering its capabilities. Plus, it’s super versatile. With its GPIO pins, you can connect all sorts of sensors and actuators, making it ideal for IoT projects.
Another reason Raspberry Pi shines is its community support. There’s a massive online community of developers and hobbyists who share tutorials, code snippets, and troubleshooting tips. Whether you’re stuck on setting up your Wi-Fi or configuring your sensors, chances are someone’s already faced the same issue and shared a solution.
And let’s not forget its compatibility with various operating systems and programming languages. From Python to Node.js, you’ve got plenty of options to choose from. This flexibility makes Raspberry Pi a dream come true for developers who want to experiment with different tools and frameworks.
Read also:Deliver 99 Souls To Davey Jones A Comprehensive Guide To The Mythical Task
Key Features of Raspberry Pi for IoT
Here’s a quick rundown of what makes Raspberry Pi so awesome for IoT:
- Compact Size: It’s small enough to fit in your pocket but powerful enough to handle complex tasks.
- GPIO Pins: These pins allow you to connect external hardware like sensors, motors, and LEDs.
- Open-Source Support: The Raspberry Pi ecosystem thrives on open-source software, giving you access to a wealth of resources.
- Energy Efficiency: It consumes minimal power, making it perfect for long-term IoT deployments.
With these features in mind, it’s no wonder Raspberry Pi has become the go-to platform for IoT enthusiasts around the globe.
Getting Started with Raspberry Pi for IoT
Alright, let’s get practical. Before you dive into deploying IoT with Raspberry Pi, you’ll need to set up your hardware and software. Here’s a step-by-step guide to help you get started:
Hardware Requirements
First things first, you’ll need the following hardware:
- Raspberry Pi board (preferably the latest model)
- MicroSD card with at least 16GB storage
- Power supply (USB-C or microUSB, depending on the model)
- HDMI cable and monitor (optional, for initial setup)
- Keyboard and mouse (optional, for initial setup)
- IoT sensors and actuators (e.g., temperature sensors, motion detectors)
Make sure you’ve got all these components ready before moving on to the next step.
Software Setup
Now, let’s talk software. You’ll need to install an operating system on your Raspberry Pi. The most popular choice is Raspberry Pi OS, which is lightweight and optimized for the platform. Here’s how you can set it up:
- Download the Raspberry Pi Imager tool from the official website.
- Insert your microSD card into your computer.
- Launch the Imager tool and select the Raspberry Pi OS image.
- Choose your microSD card as the target device and click "Write."
- Once the image is written, insert the microSD card into your Raspberry Pi and power it on.
Voilà! Your Raspberry Pi is now ready to rock.
Step-by-Step Guide to Deploying IoT with Raspberry Pi
Now that your hardware and software are set up, it’s time to deploy your first IoT project. Here’s a step-by-step guide to help you through the process:
Step 1: Define Your IoT Project
Before you start coding, take a moment to define your project. What problem are you trying to solve? What data do you want to collect? For example, if you’re building a smart greenhouse, you might want to monitor temperature, humidity, and soil moisture levels.
Step 2: Connect Your Sensors
Next, connect your IoT sensors to the Raspberry Pi using the GPIO pins. Make sure you follow the correct wiring diagram to avoid any damage. If you’re new to this, there are plenty of tutorials online that can guide you through the process.
Step 3: Write Your Code
Time to write some code! Depending on your project, you can use Python, Node.js, or any other programming language supported by Raspberry Pi. For beginners, Python is a great choice because of its simplicity and extensive libraries for IoT.
Step 4: Test Your Setup
Once your code is ready, test your setup to ensure everything’s working as expected. Check if your sensors are reading data correctly and if your Raspberry Pi is processing it properly. Don’t be discouraged if things don’t work the first time—debugging is part of the fun!
Step 5: Deploy Your Project
Finally, it’s time to deploy your project. If you’re building a home automation system, you might want to integrate it with a cloud platform like AWS IoT or Google Cloud IoT for remote access and monitoring. This will allow you to control your devices from anywhere in the world.
Best Practices for IoT Deployment with Raspberry Pi
Deploying IoT with Raspberry Pi isn’t just about setting up your hardware and software; it’s about doing it right. Here are some best practices to keep in mind:
- Security First: Always secure your IoT devices with strong passwords and encryption. The last thing you want is someone hacking into your smart home system.
- Regular Updates: Keep your Raspberry Pi OS and all installed software up to date to ensure optimal performance and security.
- Backup Your Data: Regularly back up your data to prevent loss in case something goes wrong.
- Optimize Power Consumption: Use power-saving techniques to extend the battery life of your IoT devices.
By following these best practices, you’ll ensure a smooth and secure IoT deployment.
Common Challenges and How to Overcome Them
As with any technology, deploying IoT with Raspberry Pi comes with its own set of challenges. Here are some common issues and how to tackle them:
Challenge 1: Connectivity Issues
Problem: Your Raspberry Pi can’t connect to the internet.
Solution: Check your Wi-Fi settings and ensure your router is functioning properly. You might also want to try a wired connection to rule out any wireless interference.
Challenge 2: Sensor Malfunction
Problem: Your sensors aren’t reading data accurately.
Solution: Double-check your wiring and ensure your sensors are properly calibrated. You might also want to consult the sensor’s datasheet for troubleshooting tips.
Challenge 3: Code Errors
Problem: Your code isn’t working as expected.
Solution: Use debugging tools to identify and fix errors. You can also search online forums for similar issues and solutions.
Real-World Applications of IoT with Raspberry Pi
Let’s talk about some real-world applications of IoT with Raspberry Pi. From smart homes to industrial automation, the possibilities are endless. Here are a few examples:
- Smart Home Automation: Control lights, thermostats, and security systems using voice commands or smartphone apps.
- Agriculture Monitoring: Monitor soil moisture, temperature, and humidity levels to optimize crop yield.
- Healthcare Monitoring: Track patient vitals in real-time using wearable devices and cloud-based platforms.
- Industrial Automation: Automate production processes to improve efficiency and reduce costs.
These applications demonstrate the versatility and potential of IoT with Raspberry Pi.
Tools and Resources for IoT Deployment
Deploying IoT with Raspberry Pi can be a daunting task, but there are plenty of tools and resources available to help you along the way. Here are some of the best:
- Raspberry Pi Forums: A community-driven platform where you can ask questions and share knowledge.
- Adafruit Learning System: A treasure trove of tutorials and guides for Raspberry Pi and IoT projects.
- GitHub Repositories: A vast collection of open-source code snippets and libraries for IoT development.
- YouTube Tutorials: Visual learners can benefit from the countless tutorials available on YouTube.
With these resources at your disposal, you’ll never be short of inspiration or guidance.
Future Trends in IoT and Raspberry Pi
As technology continues to evolve, so does the world of IoT and Raspberry Pi. Here are some future trends to watch out for:
- Edge Computing: Processing data closer to the source to reduce latency and improve efficiency.
- AI Integration: Incorporating artificial intelligence into IoT systems for smarter decision-making.
- 5G Connectivity: Faster and more reliable internet connectivity for IoT devices.
By staying ahead of these trends, you’ll be well-equipped to tackle the challenges and opportunities of tomorrow.
Conclusion: Embrace the Future of IoT with Raspberry Pi
We’ve covered a lot of ground today, from understanding IoT to deploying your first project with Raspberry Pi. The key takeaway is this: IoT isn’t just a trend; it’s the future. And with Raspberry Pi, you’ve got the perfect platform to explore this exciting world.
So, what are you waiting for? Grab your Raspberry Pi, fire up your imagination, and start building the smart systems of tomorrow. And don’t forget to share your projects with the world—inspiration is contagious!
Table of Contents