So, you're looking to set up Raspberry Pi VNC behind a NAT server on Windows, huh? This setup can seem like a maze, but don’t sweat it—we’re here to break it down step by step. Whether you’re a tech enthusiast or just someone trying to access your Raspberry Pi remotely, this guide’s got your back. We’ll dive into the nitty-gritty of Raspberry Pi VNC configurations, NAT server setups, and everything you need to get this working on Windows.
Let’s face it—remote access is king these days. Whether you're tinkering with your Raspberry Pi from your couch or accessing it from across the globe, VNC is one of the most reliable tools out there. But when you throw NAT servers into the mix, things can get a little tricky. That’s why we’ve crafted this guide to make sure you’ve got all the info you need in one place.
Now, before we dive into the deep end, let’s clarify something. This isn’t just another generic tutorial. We’re going to go beyond the basics and give you actionable steps, troubleshooting tips, and some insider tricks to make sure you nail this setup. So, buckle up, because we’re about to get hands-on with Raspberry Pi VNC behind NAT servers on Windows!
Read also:Doonesbury March 17 2024 A Comprehensive Analysis Of The Iconic Comic Strip
What is Raspberry Pi VNC and Why Should You Care?
Raspberry Pi VNC, short for Virtual Network Computing, is like a magical window into your Raspberry Pi from any device. It lets you control your Pi remotely as if you’re sitting right in front of it. This is especially useful when you’re dealing with headless setups or need to manage your Pi from afar.
Here’s the kicker: when you’re behind a NAT (Network Address Translation) server, things can get a little complicated. NAT servers act as gatekeepers, routing traffic between your local network and the outside world. If you don’t configure things properly, your VNC connection might hit a brick wall. But don’t worry—we’ve got you covered!
Some key benefits of using Raspberry Pi VNC include:
- Remote access to your Raspberry Pi from anywhere
- Ability to manage projects without being physically present
- Improved efficiency for troubleshooting and maintenance
Understanding NAT Servers and Their Role
NAT servers are like bouncers at a club—they decide who gets in and who doesn’t. In networking terms, they translate private IP addresses into public ones, allowing multiple devices to share a single internet connection. While this setup is great for security and efficiency, it can sometimes block incoming connections, like your VNC sessions.
When you’re trying to access your Raspberry Pi VNC from outside your local network, the NAT server can become a hurdle. That’s why configuring port forwarding and setting up static IP addresses are crucial steps in this process. Think of it as giving your Raspberry Pi a VIP pass to bypass the NAT server’s restrictions.
How NAT Servers Impact VNC Connections
To understand how NAT servers affect VNC, let’s break it down:
Read also:Knicks Muse The Ultimate Guide To New York Knicksrsquo Inspiring Journey And Fanbase
- Port Blocking: NAT servers often block incoming connections unless explicitly configured to allow them.
- Dynamic IP Issues: If your Raspberry Pi’s IP address keeps changing, your VNC connection will fail. Setting up a static IP solves this.
- Security Risks: Opening ports on your NAT server can expose your network to potential threats, so it’s important to secure your setup properly.
Setting Up Raspberry Pi VNC Behind a NAT Server
Alright, let’s get our hands dirty and set up Raspberry Pi VNC behind a NAT server. This process involves a few key steps, so grab a cup of coffee and let’s dive in!
Step 1: Install VNC Server on Raspberry Pi
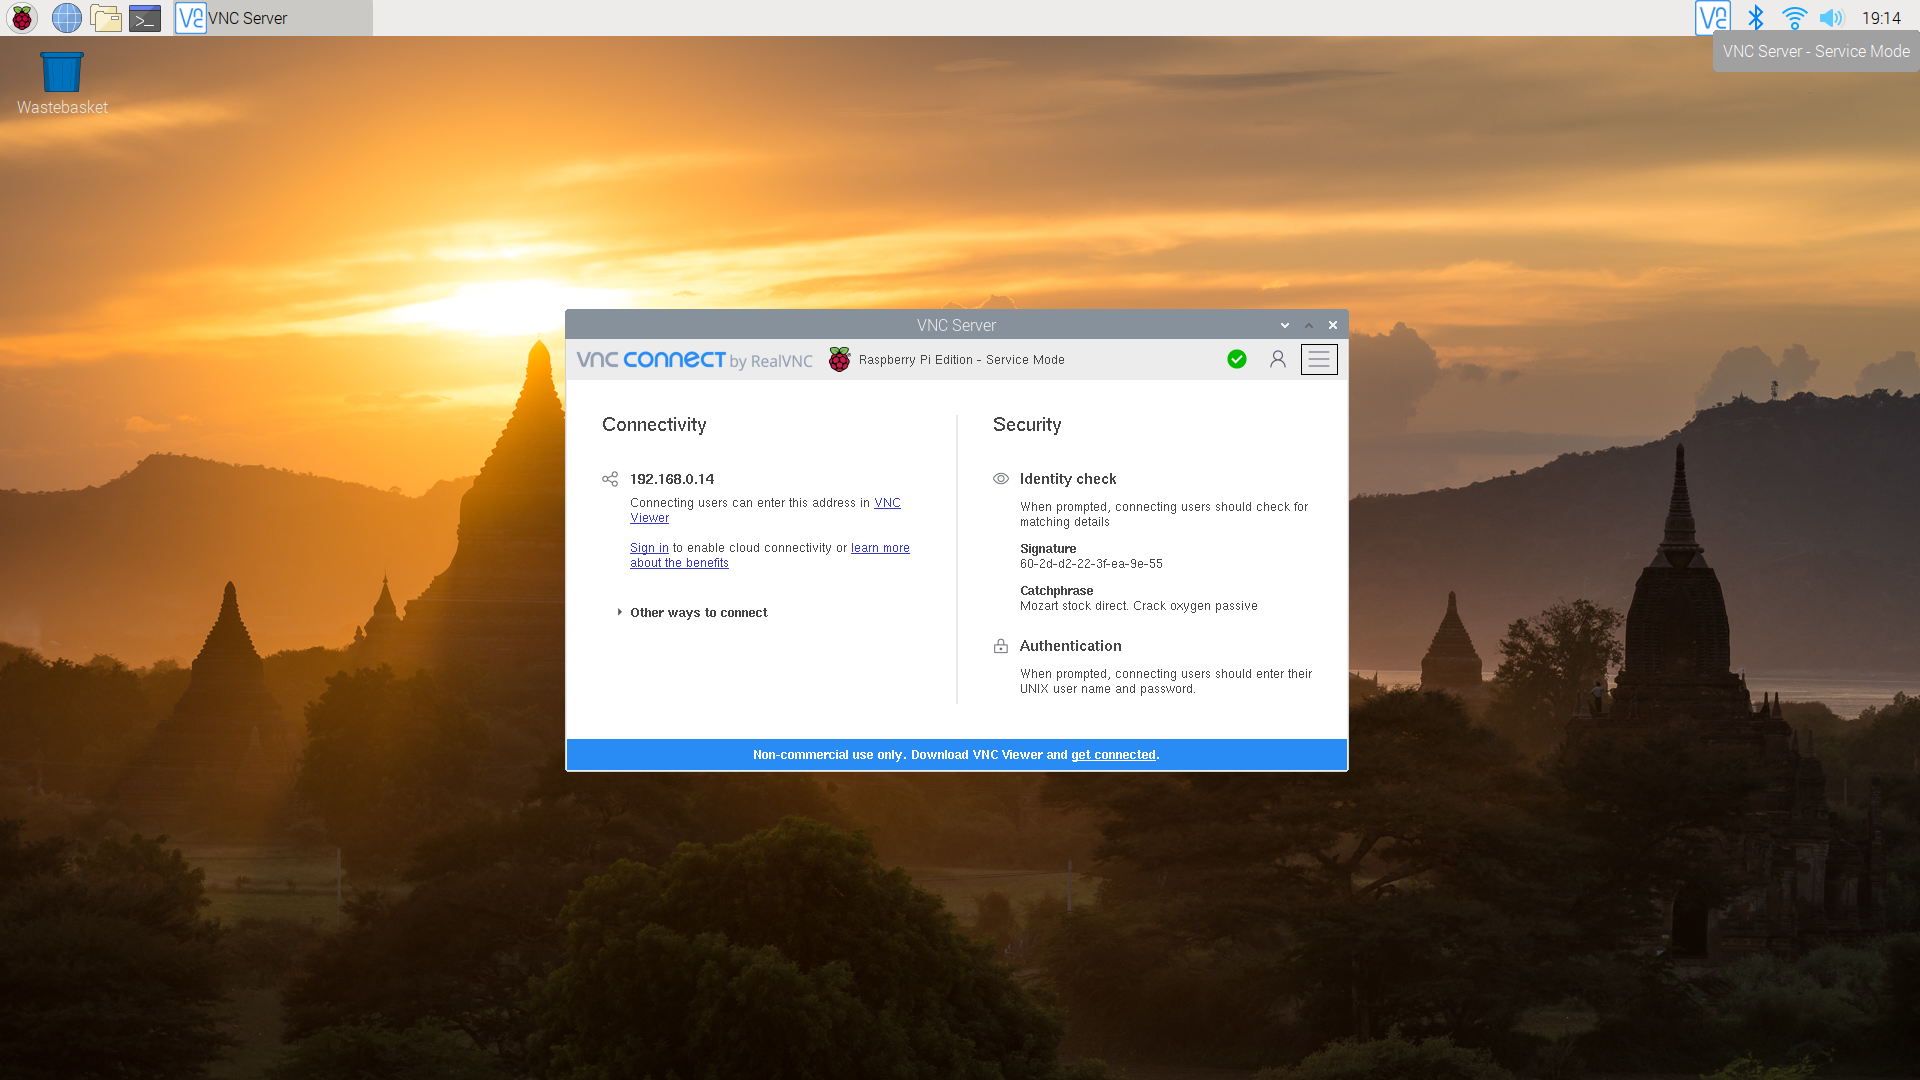
First things first, you’ll need to install a VNC server on your Raspberry Pi. We recommend using RealVNC, as it’s optimized for Raspberry Pi and offers seamless performance.
Here’s how you do it:
- Boot up your Raspberry Pi and open the terminal.
- Type
sudo apt updateand hit Enter. - Next, type
sudo apt install realvnc-vnc-serverto install the VNC server. - Once installed, enable the VNC server by going to
Raspberry Pi Configuration > Interfaces > VNC.
Step 2: Configure Port Forwarding on Your NAT Server
Now that your Raspberry Pi is VNC-ready, it’s time to configure port forwarding on your NAT server. This allows incoming VNC connections to reach your Pi.
Here’s what you need to do:
- Log in to your NAT server’s admin panel (usually via a web browser).
- Find the port forwarding section and create a new rule.
- Set the external port to 5900 (the default VNC port) and the internal IP to your Raspberry Pi’s static IP address.
Step 3: Download VNC Viewer on Windows
With your Raspberry Pi all set up, it’s time to download the VNC Viewer on your Windows machine. RealVNC offers a free version that works perfectly for this setup.
To download VNC Viewer:
- Visit the RealVNC website.
- Choose the appropriate version for your Windows OS.
- Install the VNC Viewer and launch it once the installation is complete.
Troubleshooting Common Issues
Even with the best setup, things can sometimes go sideways. Here are some common issues you might encounter and how to fix them:
Issue 1: Connection Timeout
If you’re getting a connection timeout error, it’s usually due to port forwarding issues. Double-check your NAT server settings and ensure that port 5900 is correctly forwarded to your Raspberry Pi’s IP address.
Issue 2: Authentication Failed
This error often occurs when the VNC password on your Raspberry Pi doesn’t match the one you’re entering in the VNC Viewer. To fix it, reset the VNC password on your Pi by running vncpasswd in the terminal.
Issue 3: Black Screen on Connection
A black screen during a VNC session usually indicates a graphics driver issue. Try updating your Raspberry Pi’s firmware and rebooting the device to resolve this.
Best Practices for Securing Your Setup
Security should always be a top priority, especially when opening ports on your NAT server. Here are some best practices to keep your Raspberry Pi VNC setup secure:
- Use strong, unique passwords for your VNC server.
- Enable encryption in your VNC settings to protect your data during transmission.
- Limit access to specific IP addresses if possible.
Why Security Matters
Leaving your VNC server exposed without proper security measures can lead to unauthorized access and potential data breaches. By following the best practices above, you can significantly reduce the risk of these issues.
Advanced Tips for Power Users
If you’re a power user looking to take your Raspberry Pi VNC setup to the next level, here are some advanced tips:
Tip 1: Use SSH Tunneling for Added Security
SSH tunneling encrypts your VNC connection, making it virtually impossible for hackers to intercept your data. To set this up, use a command like:
ssh -L 5901:localhost:5900 user@your-pi-ip
Tip 2: Automate Port Forwarding with UPnP
Universal Plug and Play (UPnP) allows your Raspberry Pi to automatically configure port forwarding on your NAT server. While not recommended for high-security environments, it can save you time in less critical setups.
Conclusion: Take Control of Your Raspberry Pi VNC Setup
And there you have it—a comprehensive guide to setting up Raspberry Pi VNC behind a NAT server on Windows. Whether you’re a beginner or a seasoned pro, this setup can enhance your remote access capabilities and make managing your Raspberry Pi a breeze.
Remember, the key to success lies in proper configuration and security measures. Take the time to set things up correctly, and you’ll enjoy seamless remote access to your Raspberry Pi from anywhere in the world.
Now it’s your turn! Have you tried setting up Raspberry Pi VNC behind a NAT server? Share your experiences in the comments below, and don’t forget to check out our other tutorials for more awesome Raspberry Pi projects!
Table of Contents